Whether you’re as fit as an Olympian, a weekend workout warrior, or completely new to exercise, it’s always a good idea to test your fitness levels.
Why? Because if you never know how fit you are – and you don’t keep a record of your fitness levels with regular testing – you will never really know if you’re making any progress with your fitness regime, and that can quickly lead to a plateau in your training gains and feelings of demotivation – hardly a recipe for success if you’re trying to lose weight, build strength or generally get fit in 2022.
Want to make sure you smash your fitness goals this year? Keep reading to find out why testing your fitness can help stay on track and get fitter than ever over the next twelve months, then grab your workout trainers and try out our round-up of the best exercises to test your fitness.
How fit are you? Why you should test your fitness as an exercise beginner
If you’re new to exercise, it’s always a good idea to establish your fitness levels in the areas of strength, cardio and flexibility with a few simple tests. This way, you’ll have a starting point from which to improve, and you can also correctly select a workout plan that fits with your beginner, intermediate or advanced level of fitness.
This is important because following a plan that’s not right for your fitness level, i.e., choosing a 10k running plan instead of a Couch to 5k plan, can lead to feelings of inadequacy, as well as possible injury if you overexert yourself.
Retaking the same fitness tests every four weeks and recording your results will also provide invaluable benchmarks for you to measure your progress against over the following months and help boost your motivation when you start to see improvements in your numbers.
Even if your goal is to lose weight, and you’re not especially interested in getting faster or stronger, it’s still a really good idea to take the fitness tests. Because seeing your fitness gains on paper can really encourage you to continue your training, especially on those days when the scales might indicate you’ve stayed the same weight (or even gained it), and you feel like all your hard work isn’t paying off.
Because don’t forget, while a pound of muscle weighs the same as a pound of fat, muscle is denser and more compact. So even if the scales aren’t moving in the direction you’d like, you’ll still be getting fitter, burning away fat, and losing inches (for this reason, you should grab a tape measure and record your body measurements, too).
(Image credit: Getty Images)
How fit are you? Why you should test your fitness as an advanced exerciser
There are many types of fitness, from cardio endurance, power and flexibility to agility, speed and strength, and all of them are important for good overall fitness.
You might be able to run a marathon in under three hours or lift double your body weight over your head, but if you have poor flexibility and can’t bend over to tie your shoelaces, or your mobility prevents you from performing certain exercises like lateral lunges or overhead squats, you could be setting yourself up for injury later down the line, and limiting your ability to run faster or lift heavier.
Equally, even the most experienced exercisers can get stuck in a rut of performing the same old routine week after week, which can lead to hitting a plateau both physically and mentally. But regular fitness testing can help refocus your goals and encourage you to switch up your training while also helping you to identify any physical weaknesses you can improve by making adjustments to your training, thereby aiding your performance in the areas where you are strongest.
Think you’re already super fit? See if you could ace the FBI Fitness Test, or try the highly challenging Army Combat Fitness Test.
How fit are you? The best exercises to test your fitness
You don’t have to perform every exercise listed below to test your fitness but do try to pick at least one move that tests your cardio fitness, strength and flexibility. Don’t forget to record the results and retake the tests every four weeks to measure your progress, and ask a friend for assistance if you need it!
1. Resting Heart Rate
Put your trainers down – you can do this one from the comfort of your bed! You might not realise it, but your resting heart rate (RHR) is a great indicator of your fitness. If it’s too high, your heart will be working hard to pump blood around your body. If it’s too low, oxygen isn’t being transported efficiently and you may feel lightheaded.
A healthy resting heart rate for an adult is between 60 and 100 beats per minute (bpm) and varies based on your age and gender. Generally, a lower heart rate at rest indicates better heart function and greater fitness levels, which is why a well-trained athlete might have a resting heart rate of around 40 beats a per minute.
The best time to take your resting heart rate is when you’re lying down, having not exerted yourself. Count your pulse for 15 seconds then multiply the number by four. This is your RHR. Alternatively, invest in one of the best heart rate monitors, best fitness trackers or best running watches to keep things simple and accurate.

(Image credit: Getty)
2. Cooper 1.5 mile Run
The Cooper 1.5 mile (2.4 km) Run Test is a common fitness test used by the military, police and firefighters across the globe to measure cardiovascular fitness, and also appears in the Navy Physical Readiness Test
All you need to do it is a good pair of running shoes, a stopwatch, and a flat, hard running course or track (you may need to measure this out first). The aim is to complete the distance in the shortest amount of time after warming up.
Once you’re done, check your score against the graph here which comes from research on thousands of people, but don’t get disheartened if your results are poor – the only way is up! If you’re a beginner, you might need to take a walk/jog approach at first, and that’s fine – just enjoy seeing your fitness levels improve over time as you get faster and can run continuously without stopping.
3. Standing Long Jump
This popular test is designed to measure your explosive leg power (or check if you’ve been skipping leg days) and was once even an event at the Olympic Games.
To do it, you need a non-slip floor for taking off and landing safely (find a sandpit to jump into if you can), a tape measure and a pair of cushioned trainers with great grip, such as the best cross-training shoes.
After warming up, stand with your feet slightly apart behind a line marked on the ground. Next, leap as far forwards as you can using both feet to take off and land. Bend at the knees and swing your arms to drive yourself forwards without falling backwards.
You have three attempts to do complete the test, and your measurement should be taken from the take-off line to the point where the back of your heels landed. The best jump over the longest distance will provide your score, and you can check how well you did here.

(Image credit: Getty Images)
4. Sit and Reach
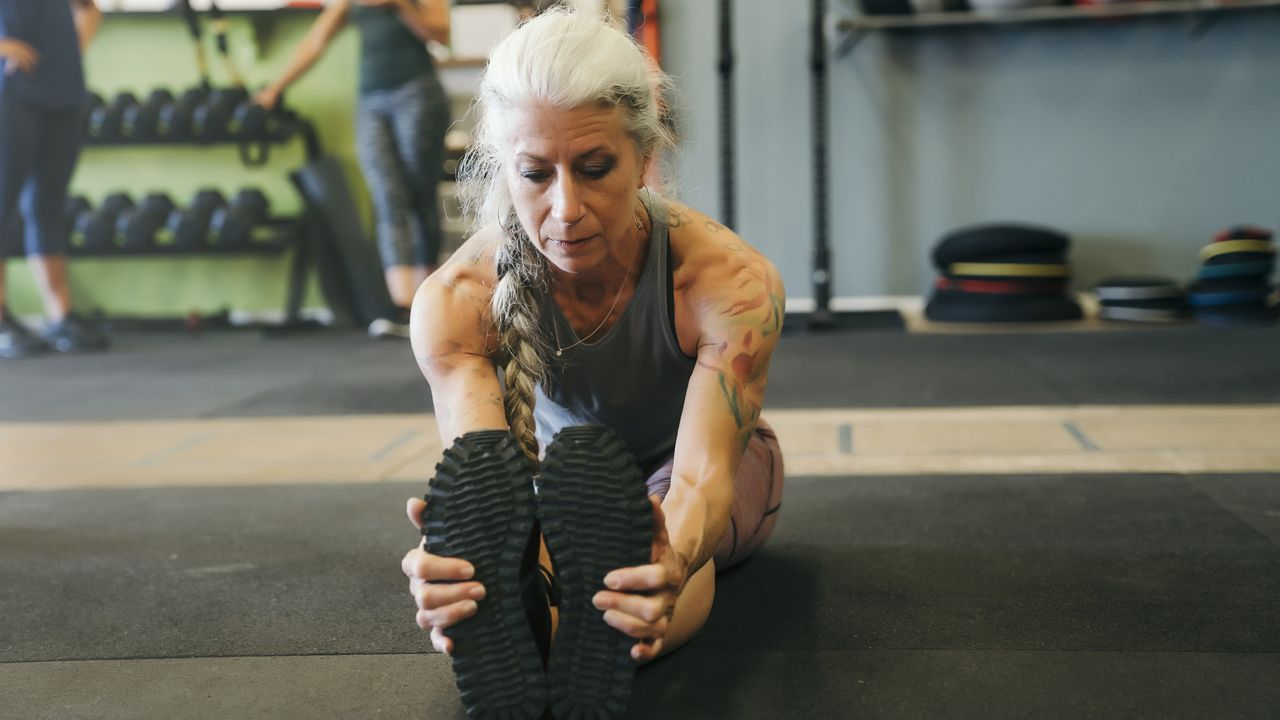
Designed to measure the flexibility of your lower back and hamstrings, the sit and reach test can help to determine your risk for future pain and injury and is often used by personal trainers and physiotherapists to test a person’s baseline flexibility.
While sitting on the floor and trying to reach our toes with straight legs isn’t something we do often in daily life, good back and hamstring flexibility are essential for performing everyday tasks such as bending over to pick things up and is particularly useful in sports such as cycling and skiing where you need to get into a tuck position, or for kicking when playing football and rugby.
To do the test, you’ll need a sit and reach testing box which you can buy here, or you can make one yourself by taking a solid box about 30cm tall and fixing a meter stick on top of the box so that the 23cm (15 inches) line of the ruler is lined up with the front edge of the box facing you. The reason for doing this is to provide enough distance on the end of the ruler nearest to you to allow a minus score if you can’t reach toes or beyond (the zero point is level with your feet).
After thoroughly warming up, sit barefoot on the floor with your legs stretched out in front, knees straight and feet flat against the box. Next, place your hands on top of each other, then slowly lean forwards at the hips keeping your knees straight and slide your hands up the ruler as far as you can go. Rest, then repeat up to three times, averaging your results for your final score which you can check here.
5. Wall Facing Overhead Squat
This test, also known as ‘squat therapy’ in the CrossFit world, measures your range of motion from head to toe, including the mobility of your ankles, knees, hips, shoulders and thoracic spine (the middle section of your spine that runs from your upper to lower back).
It’s a great test to take if you want to identify less mobile areas that need working on to prevent joint issues and get maximum results from your squats. Unfortunately, a lot of people can fail this test thanks to rounded backs or inflexible ankles, but once you know your trouble zones, there is much you can do to make improvements.
To start off, stand facing a wall with your feet shoulder-width apart and extend both arms above the head with elbows locked, palms facing forwards. Next, brace your core and send the hips back and down slowly. Ideally, you should be able to squat to a depth where the hip crease is below the top of the knees while keeping your knees tracking over your toes, your heels rooted to the ground and your hands away from the wall.
If this sounds complicated, watch this simple demo video which also shows you how to incorporate a PVC pipe or broom handle to aid the exercise.
6. Core Muscle Strength and Stability
There are loads of different core tests you can try, from holding a plank position for a minute if you’re a beginner – or up to three minutes if you’re super fit – to seeing how many anchored sit-ups you can do in sixty seconds. However, the Core Muscle Strength and Stability Test has become increasingly popular in recent years as it tests multiple areas of your core, alongside your balance, power, and agility.
All you need to do this test is a flat surface, a watch, and a good exercise mat. Place the watch where you can see it, then assume the start position of an elbow plank with your forearms flat on the floor and toes on the ground. Your core should be engaged and your body should form a straight line from head to heels. Hold for 60 seconds.
Next, lift your right arm out in front of you parallel with the ground, and hold for 15 seconds. Return to the start position, then lift the left arm of the ground and hold for 15 seconds. Now, return to the start position and lift the right leg off the ground, extending it out parallel to the ground, and hold for 15 seconds. Repeat with the left leg and hold for 15 seconds.
Then, lift both the left leg and right arm parallel to the ground and hold for 15 seconds. Repeat using the right leg and left arm for 15 seconds. Finally, return to the elbow plank position and hold for 30 seconds.
If you manage to complete the whole sequence, congratulations – you have great core strength. However, if you don’t complete it, or you’re unable to maintain the correct body position and form, your core strength and stability could definitely do with improving. Achieve this with our round-up of the best core exercises.
7. The Beep Test
The dreaded ‘beep test’, or ‘bleep test’, or 20-meter Multi-Stage Fitness Test (MSFT) as it’s also known, is a gruelling test of maximal running aerobic fitness that involves continuously running back and forth across a 20-meter distance to recorded ‘beeps’ that decrease in time intervals. This means you must increasingly pick up your pace through the different levels of the test to reach the end of the 20-meter distance before the beep sounds again.
To do it, it’s handy to first download a Beep Test app that you can play through your phone or speaker, or use this YouTube video. Next, accurately measure out a 20-meter distance across a non-slip surface (being just one meter out can make a 10-20 per cent difference in the accuracy of the results) and mark it off with cones, making sure you have enough room at either end to turn, and that you warm up thoroughly before starting the test.
When the test starts, you will hear a triple beep, and you must run the distance of the 20-meter strip, aiming to reach the 20-meter mark at the same time as the beep. If you arrive early, you should wait for the beep to sound before starting to run back.
The beeps will start off slowly, but around every minute, you should hear another triple beep to indicate that a new, slightly faster level has begun, and the beeps will be closer together. Each minute starts a new level or stage, and there are 21 levels altogether in a full beep test, although elite sportsmen and athletes can struggle to hit level 15, and there’s no record of anyone ever officially reaching level 21.
If you fail to reach the line before the beep happens, you should try to catch up on the return lap before the next beep. If you fail to reach the line for two consecutive beeps, you should stop the test as this shows you’ve maxed out. Your score is the level and the number of laps or shuttles that you completed before you couldn’t keep up with the beeps. Once you’ve recovered, compare your score on the charts here
