
“], “filter”: { “nextExceptions”: “img, blockquote, div”, “nextContainsExceptions”: “img, blockquote”} }”>
Get full access to Outside Learn, our online education center offering in-depth fitness, nutrition and adventure courses and over 2,000 instructional videos when you sign up for Outside+
>”,”name”:”in-content-cta”,”type”:”link”}}”>Sign up for Outside+ today.
dominated are a must have for almost all climbers who are serious about their progression and longevity in the sport. Year-over-year improvements in strength are essential for grade progression and the humble pull up is an incredibly versatile tool for this. At its core, it involves resistance training the major upper body major movers in climbing: lats, rhomboids, biceps, trapezius, and infraspinatus, just to name a few. Add to this the fact that there are nearly endless variations on the pull up and you have an exercise that will serve your performance for literally decades. Addressing the strength element in training is key to longevity in the sport and injury prevention. With the pull up, we have an exercise that, along with its variations, is capable of developing strength in almost all the muscles of the arm and upper body.
Now that we hope we’ve convinced you that we’re looking for a useful form of training, let’s tackle one of the biggest issues we face as a training company: a complaint we hear on all of our platforms, and one that’s completely valid. ! There are thousands of climbers who want to use pull-ups in their training, but their conditioning level is still at the level where they still may not be able to do a single pull-up or, even more commonly, struggle to do more. than a few reps, so most of the training tips feel irrelevant because the suggestions are usually along the lines of “3 sets of 8 pull-ups, with XYZ form or plane of motion.”
What should you do in this situation? What options are there if you’re stuck in that chicken-and-egg situation where you’re struggling to even begin this form of training?
Before we delve into the details of the solution, we’d like to remind you that learning how to execute well and learning the moves are definitely worth spending time mastering. These cues and movement patterns will allow you to push yourself harder, reduce your risk of injury, and perform any exercise with a higher degree of efficiency.
Form and movement cues
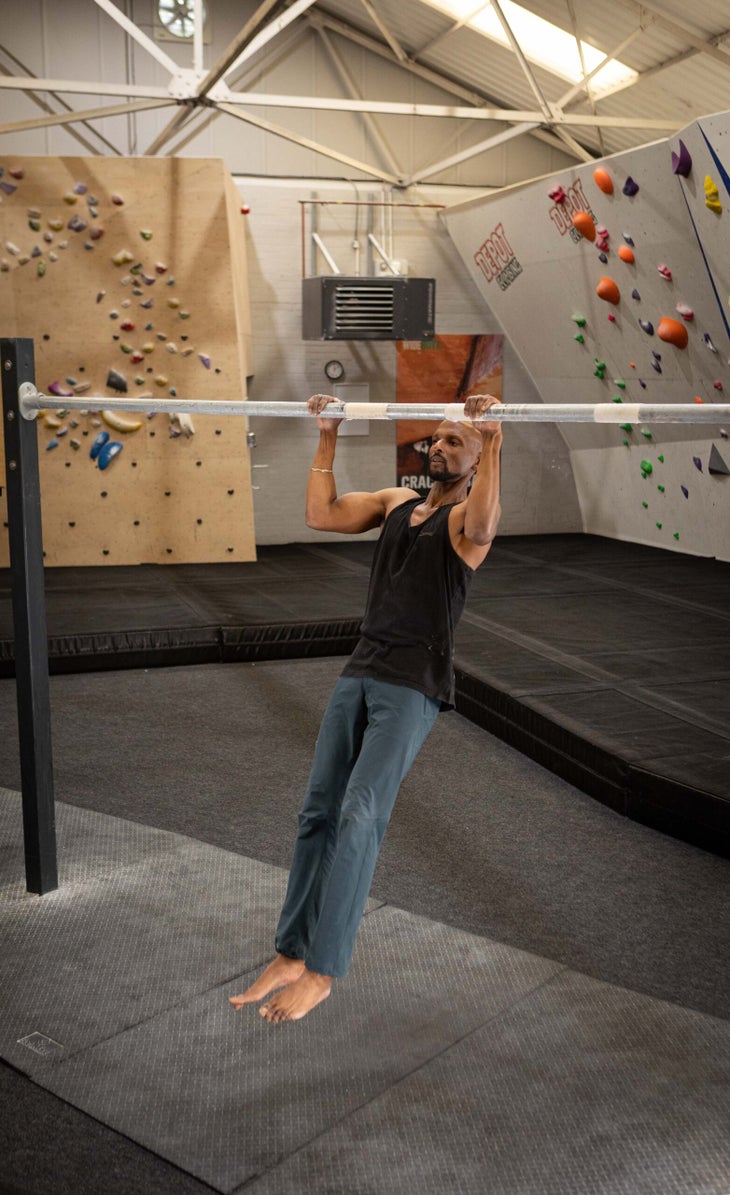
- Shoulder engagement: The very beginning of a pull up should involve depression and engagement of the scapulae without excessive movement or flexion (bending) of the arm. Initially, this may seem like a really strange exercise, but with all of our clients and athletes, this forms a core of their annual strength and conditioning. Learn to engage those shoulders and learn it well!
- Narrow elbow tracking: As you begin to bend your arms, try to focus on keeping your elbows parallel to each other throughout the range of motion and don’t let your elbows drift away. There are advanced forms of pull-up variation where this may be relevant, but definitely try to avoid it while you’re still mastering pull-ups.
- Arching of the back: There can be a tendency to arch and overstretch your lower back when a pull up feels too difficult at the beginning of your training journey. A good sign to look for is to tighten your core and glutes during the pulling movement and you will see the arch disappear quickly.
Part 1: Preparation for pull-ups
There are a few exercises that we love to use for those who are working towards their first pull-up or alternatively as an effective warm-up for intermediate and advanced athletes. These exercises start at 4.43 in the video demos.
- Theraband pull down: remember in this one that the difficulty of the exercise is going to be moderated both by the strength of the band and by the speed of the movement. If you want each rep to be as hard as possible (to increase strength), use the hardest resistance band with the slowest rep. This exercise can be done with the elbows closed or with the elbows more open to increase the amplitude of the muscles worked in this range of motion.
- Scapula Engagements – This can be completed with body weight or with the help of a resistance band. We recommend keeping the reps low initially (4 reps) until you have mastered the exercise and also understood how your shoulders respond to the exercise. Don’t forget that your arms don’t bend in this move!
- Locks: At first, you’ll almost certainly want to complete these with help. We found that working the 90-degree and 120-degree lockouts has good transfer back to long-term pull-up performance, although it should be noted that other positions can be tried as well! The only position we recommend a lot of caution with is the top “deep lock” position, which can aggravate many people’s elbows.
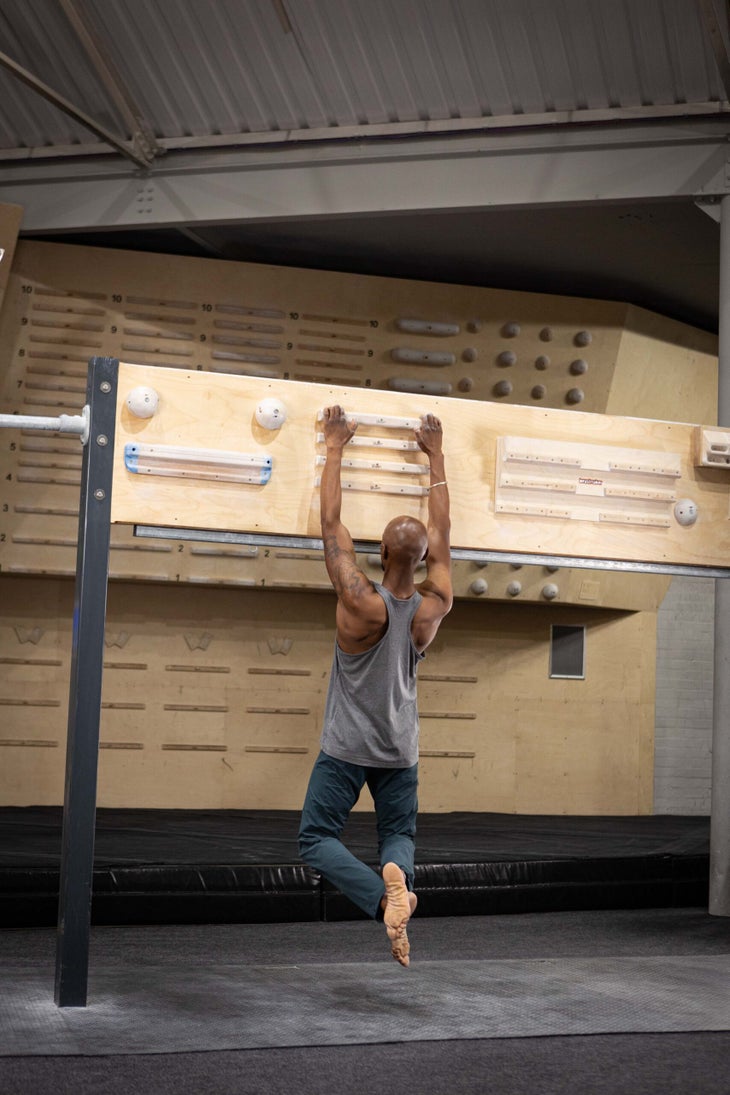
- Low Row – This is a totally underrated exercise! Even better, there are also a number of variations on this training tool, including 2-arm work that can have significant potential for core training as well. An essential element to this exercise is to “set” the shoulder back into a position where the trapezius and rhomboids have retracted the scapula before beginning the pulling movement. This means that losing a little more weight than you expect is key, so that you can keep your shoulder in the correct position at all times.
Sample pull-up prep session
- Exercise 1: Theraband Pulldowns (2 sets of 8 reps)
- Exercise 2: scapula engagements (2 sets of 4 reps)
- Exercise 3: Lock offs (4 sets of 5 seconds)
- Exercise 4: Low Row (2 sets of 6-8 repetitions)
We recommend around 3 minutes of rest between sets and exercises, but you should certainly take more if you need it to complete in good shape! Resting a few more minutes will not destroy the potential for improvement.
pull up progress
For those of you who have mastered the initial setup exercises and can comfortably complete them at least twice a week, we have a variety of tools that we can use to progress from just a single pull-up or two to the rank of five or more. Keep in mind that all of these exercises will only work if you eat right, rest often enough throughout the week, and keep stress to a minimum. While this may seem like a no-brainer, we like to state it frequently as we see many people struggle to improve their strength when some of the basics of their lifestyle are not taken care of. Train like an athlete, but also treat yourself like an athlete would!
Assisted Pull Ups – Many climbers who struggle to complete more than a couple of pull ups need to get involved with this form of pull up! One of the keys to strength training is being able to train in a range of rep volumes. What I mean by this is that just because 2 pull-ups (at a maximum of 2 or 3 repetitions) feel very difficult, it does not mean that it will make you stronger and better conditioned month after month. In reality, the most successful athletes will strength train from very low rep ranges (2-5) to higher reps (12-20) because they seek a variety of physiological adaptations that come from training across the volume spectrum. As you complete your assisted pull up, try to focus on a consistent speed throughout the range, and if you want to get really smart about it, slow down the movement at the point where you’re getting the most assistance from theraband.
Eccentric Pull-ups – Due to the nature of a muscle being able to withstand more force than it can close in the concentric movement, the eccentric pull-up is a great way to increase volume and intensity in your pull-up sessions. What we mean by eccentric is the lengthening of the muscle rather than the (concentric) shortening that you experience when doing the top of a pull-up. Even if you can’t complete 3 or 4 full pull-ups, you’ll find that most climbers will be able to complete more than 5 eccentric pull-ups in a controlled manner. Keep in mind that this exercise is very high intensity, so avoid failing and losing form, particularly in the lower section of the range of motion. Also negotiate double rest days after this session, as the impact on muscle physiology is significant.
Lockouts – As you should be in the position of having mastered the warm up drills, the lockout comes back into play as a tool to increase training load by increasing time under tension. Again, we recommend working on a few key angles (90 and 120 are the most popular) and working on increasing time under tension and intensity throughout the training season. In the example below, we’ve provided a sample 10 second hold session, but you can also see some great results by working on 20-30 second hold in this exercise.
Pull Up Progress Sample Session
- Exercise 1: assisted pull-ups (2 sets of 5 repetitions)
- Exercise 2: Negatives (2 sets of 3 repetitions)
- Exercise 3: Lock offs (4 sets of 10 seconds)
final notes
We love hearing from customers and fans who have used the tips above to move forward with upper body strength and conditioning; People will often get through the “5” barrier faster than they think, with some consistency and dedication! However, what we want to remind everyone of is that just because a training method works for two, three or four months, it doesn’t mean that it will work indefinitely! If you’ve worked hard and made significant improvements in the next 8 to 16 weeks, look to switch exercises. His assisted pull-ups can now be completed in three different grip positions and his negatives can be done on a flat edge instead of a pull-up bar.
For more ideas for training sessions, download the Crimpd Applicationwhere you’ll find all the strength and conditioning insights you need to advance into the next decade of performance.